Advice to improve your movement, fitness, and overall health from the #1 in orthopedics in the U.S.
Progressive Muscle Relaxation: How to Try This Technique
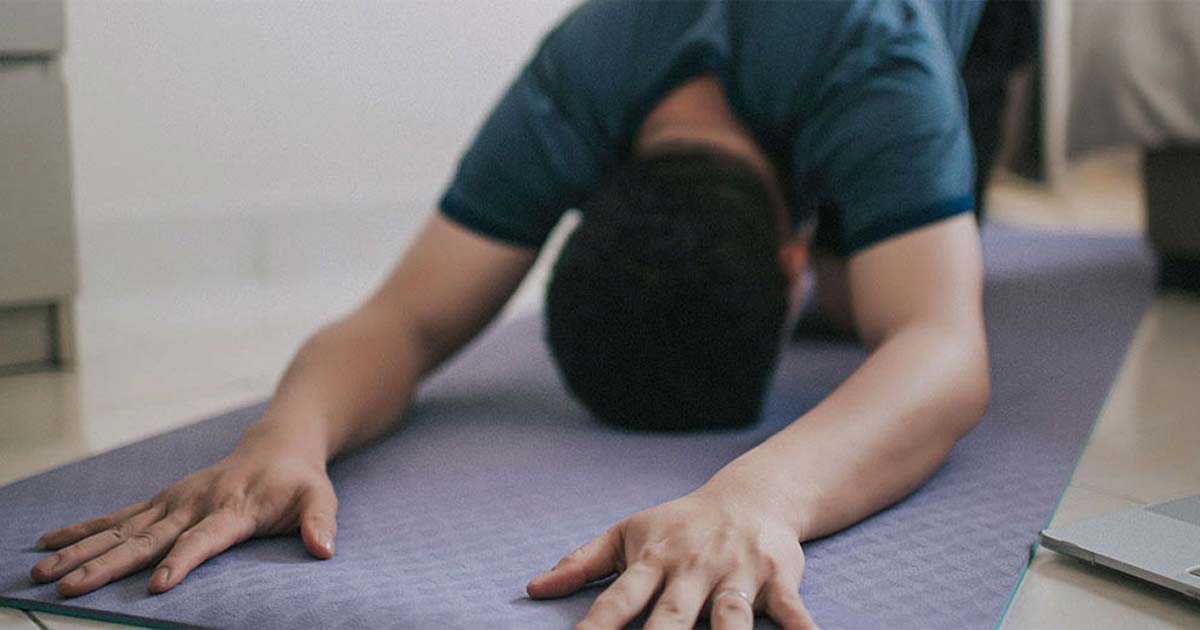
Learn how to quiet your mind and relax every muscle in your body with this simple mindfulness practice.
Advice to improve your movement, fitness, and overall health from the #1 in orthopedics in the U.S.
Everyone can use a little relaxation these days. And while meditation is a wonderful way to relax and recharge, it’s difficult for some people to enjoy the benefits. Enter progressive muscle relaxation, or PMR for short. “PMR is a relaxation method that allows you to focus on something, which is great for people who get frustrated at the challenge of quieting their mind,” says Claudia Zurlini, senior coordinator, Public & Patient Education at HSS and a certified meditation instructor.
PMR can help in the short term by thoroughly relaxing each and every muscle. But the benefits continue beyond the end of the session. The more you practice PMR, the more you learn to recognize the difference between your body’s tense and relaxed states, and the better you become at taming the tension before it takes hold.
With PMR, you squeeze and relax each muscle group one by one. “We all carry tension in our muscles on a daily basis without even noticing,” says Zurlini. By exaggerating the strain in each muscle, we’re more able to observe it, which gives us the opportunity to relax it, she adds.
Some of the benefits of PMR include:
- decreased anxiety and stress
- improved ability to fall and stay asleep
- lower blood pressure
- reduced pain, including neck, back, TMJ and even migraine pain
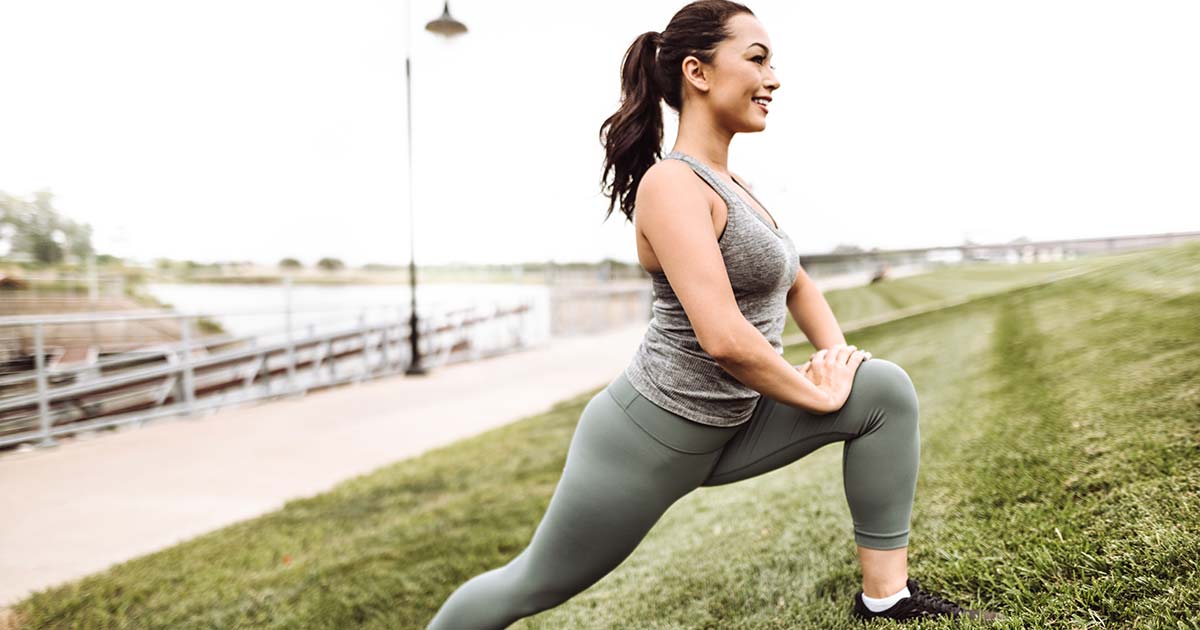
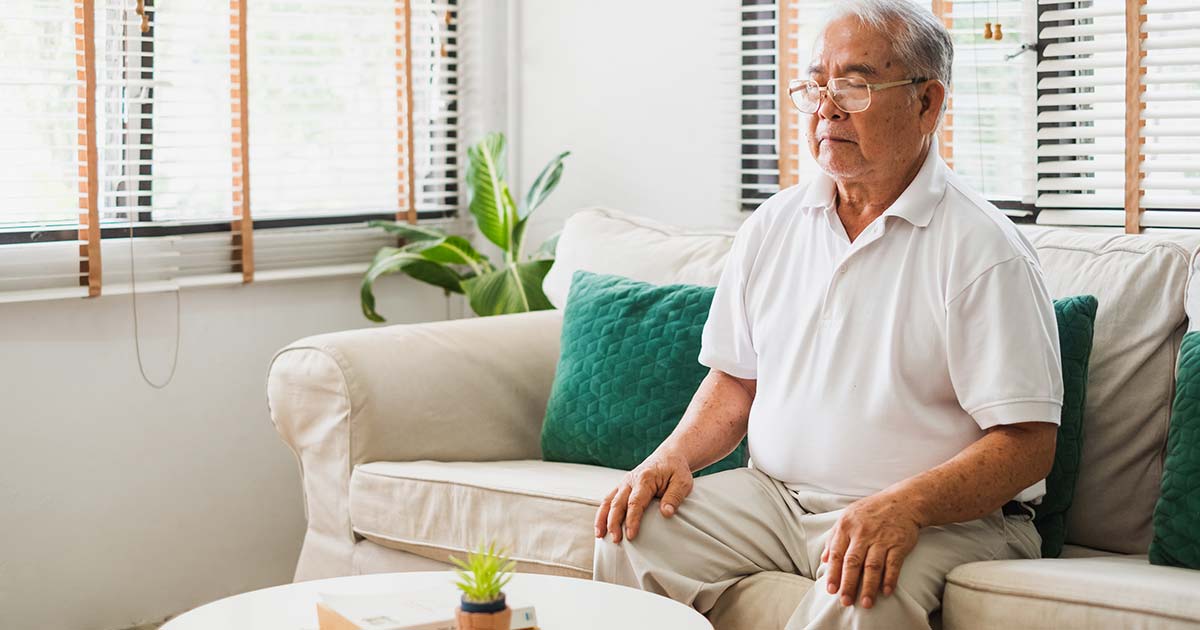
Anyone can benefit from PMR. You don’t need any equipment or gear, and you’ll see results almost immediately. Plus, you can do it anywhere or anytime you want to relax, ground yourself and be more present, whether that’s first thing in the morning or just before bed.
For the first few times, you might want to start with a guided recording, says Zurlini, so you can follow the steps without distracting yourself with the instructions.
When you’re ready to try:
Find a comfortable, private space to sit or lie down. Make sure you’re wearing loose-fitting clothing. If you live with other humans, let them know you’ll need 10 to 15 minutes of time by yourself. (You can also tell the dog, but he may not listen.)
Close your eyes and take a few deep, slow breaths, breathing in and out through your nose. Rest your hand on your belly so you can feel the breath rise and fall as you settle in and arrive to the practice. Throughout the session, breathe in as you tense and out as you relax.
- Starting with the right foot, focus on squeezing the muscles as hard as you can for about five seconds by fanning out your toes and arching the foot, feeling the muscles become tighter and tenser. Then relax them quickly, letting the tension leave your body through that foot and exhaling. Don’t squeeze so hard that you cramp, but hard enough so that you’ll clearly feel the difference between the tension and the relaxation. Then do the same on the left foot. If you’re pressed for time, you can do both feet at once.
- Shift your focus up to your right calf. Tense the muscle tightly for about five seconds, then relax, exhaling and letting the tension leave your body through the calf. Take a few moments to notice the feeling of relaxation. Then do the same with the left calf.
- Move up your legs until you reach your buttocks, squeezing and relaxing.
- When you reach your belly, contract your abs as you take a nice, deep inhale, then relax as you push the breath out and allow the muscles to relax.
- Do the same with your back – contract and tighten the muscles as you inhale, then relax as you exhale.
- Focus on your right hand as you inhale, squeeze and make a fist as hard as you can, then let it go, exhaling. Do the same with your left hand.
- Move to your right arm and squeeze your biceps– imagine you’re Popeye, showing off your muscles – then let all the tension go.
- Move to the shoulders and shrug them toward your ears for five seconds, then let your breath out and let them fall. Take a few moments to observe how different they feel when they’re relaxed.
- Once you reach your face, inhale and squeeze your features together as hard as you can, then exhale as your face relaxes and all the tension leaves it.
When you’re finished with your entire body, take a few additional deep breaths as you check in with how you feel. Can you notice the difference between now and when you started? If you did this before bed you might have even fallen asleep. If so, congratulations … you’ve done it right!
Published 8/29/2021