Advice to improve your movement, fitness, and overall health from the #1 in orthopedics in the U.S.
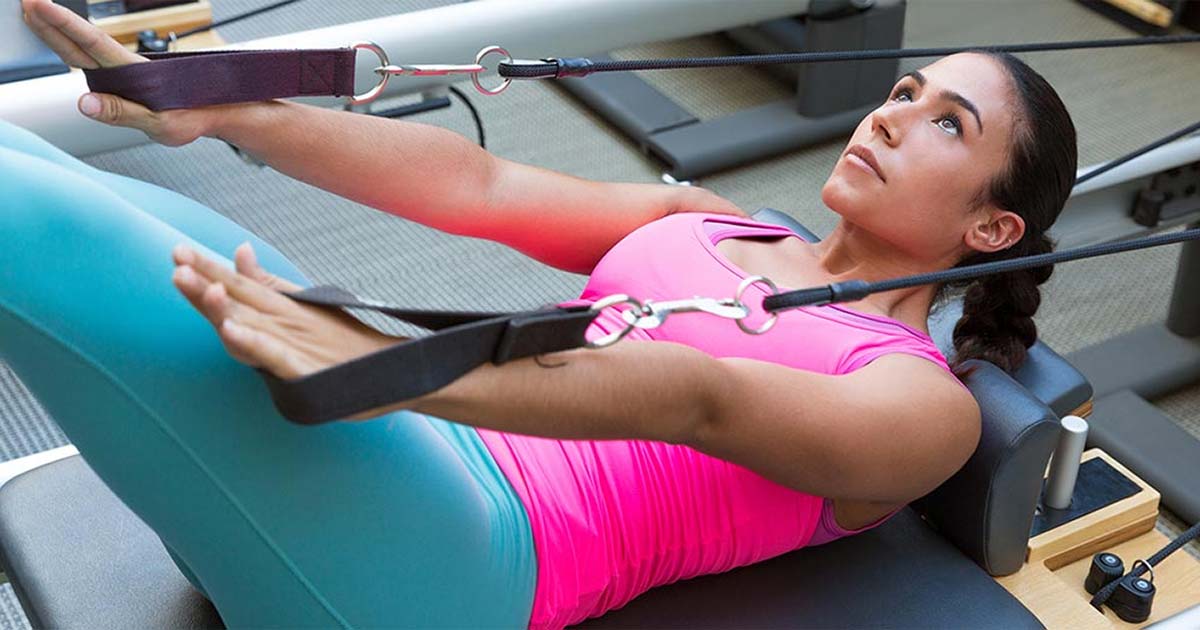
How Pilates Can Help with Back Pain
By strengthening the whole core, including the back, this fitness method can relieve tension in the area.
Advice to improve your movement, fitness, and overall health from the #1 in orthopedics in the U.S.
Think Pilates is all about getting rock hard abs? Think again. “There’s a misconception that Pilates is all about the belly,” says Valarie Samulski, NCPT, a nationally certified Pilates Instructor on the HSS Performance and Wellness team. “Yes, Pilates involves the belly, but the core in Pilates also includes the back, the pelvic floor and even the diaphragm.”
Because Pilates helps strengthen the core as well as everything surrounding it, the practice can help keep your back sturdy and supple. “In Pilates, we're not interested in just one muscle group. We're interested in making all of them strong and flexible and helping them to develop a good relationship with each other,” she adds.
Samulski says that one of the most important, and most underappreciated, aspects of coping with chronic back pain is using the breath. “The diaphragm is the primary breathing muscle, and like any other muscle, it needs strength and flexibility,” she says. “Any weakness or tightness can affect the position of your ribcage, which pulls on the muscles of the back.”
To breathe in a way that best engages your core support: Breathe in through your nose and out through an open, relaxed mouth, like you’re fogging up a mirror in front of you. Don’t huff, puff or push the breath out. Just let all the air float out naturally, making sure to keep your jaw relaxed to allow you more room to breathe all the way out. Being able to get all the way to the bottom of the breath will help you contract your abdominal wall.
5 Pilates Exercises to Help with Back Pain
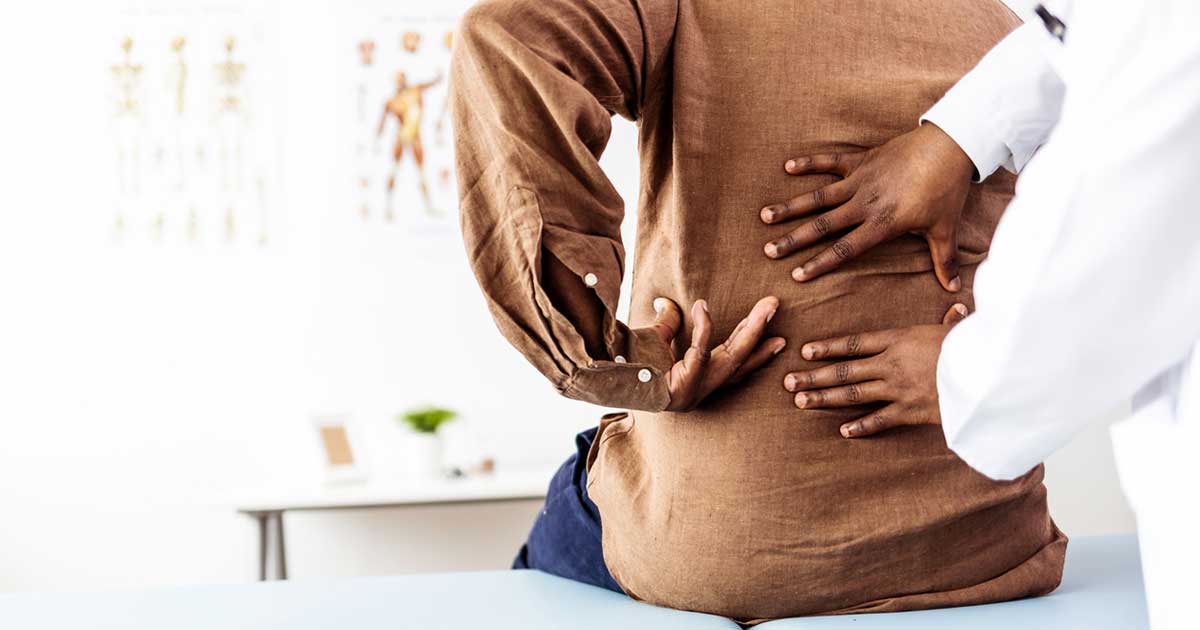
If you’re currently suffering from back pain, start by seeing a professional, if possible, to get a clinical assessment. A physical therapist or physiatrist can help you get to the root of the problem. Once you’ve got the go-ahead, start with these five exercises, which are appropriate for almost everyone at any level, Samulski says.
Constructive Rest
This static position releases tension from the psoas, a long muscle connecting the spine to the pelvis and legs. It's also good to practice breathing and clear stress from the mind and body.
- Lie on your back on a firm but comfortable surface.
- Bend your knees and place your feet flat on the ground a little more than hip-width apart. Angle your knees in to touch one another with your feet apart and knees together.
- Your low back should be in a neutral position, which means there will be a small space between your back and the floor. You do not want to tuck your hips or push your back to the floor.
- Let your arms rest along either side of your torso with the palms facing up.
- Breathe in through your nose and out through a relaxed mouth.
- Lie there for at least five to ten minutes. As the psoas releases, your pelvis will extend and your spine will lengthen.
Windshield Wiper Twist
This releases tension from the lower back as well as tightness from the front of the hips and thighs.
- Lie on your back on a firm but comfortable surface.
- Bend your knees and place your feet flat on the ground a little more than hip-width distance apart.
- Rest your arms comfortably beside you or place them in a T position for more support.
- As you inhale, slowly lower both your knees to the left, allowing the right hip to roll up away from the floor. Your knees do not have to go all the way to the left to get the benefit, just go as low as you’re comfortable.
- Exhale and pull in your belly as you bring your knees back up to the starting position. This exhale is very important because it engages your abdominal muscles to help pull the weight of your legs back to center so your back doesn’t have to do all the work by itself.
- As you inhale, slowly lower both your knees to the right, allowing the left hip to roll up and away from the floor.
- Exhale and sway both knees back to the starting position.
- Repeat back and forth for eight to ten reps.
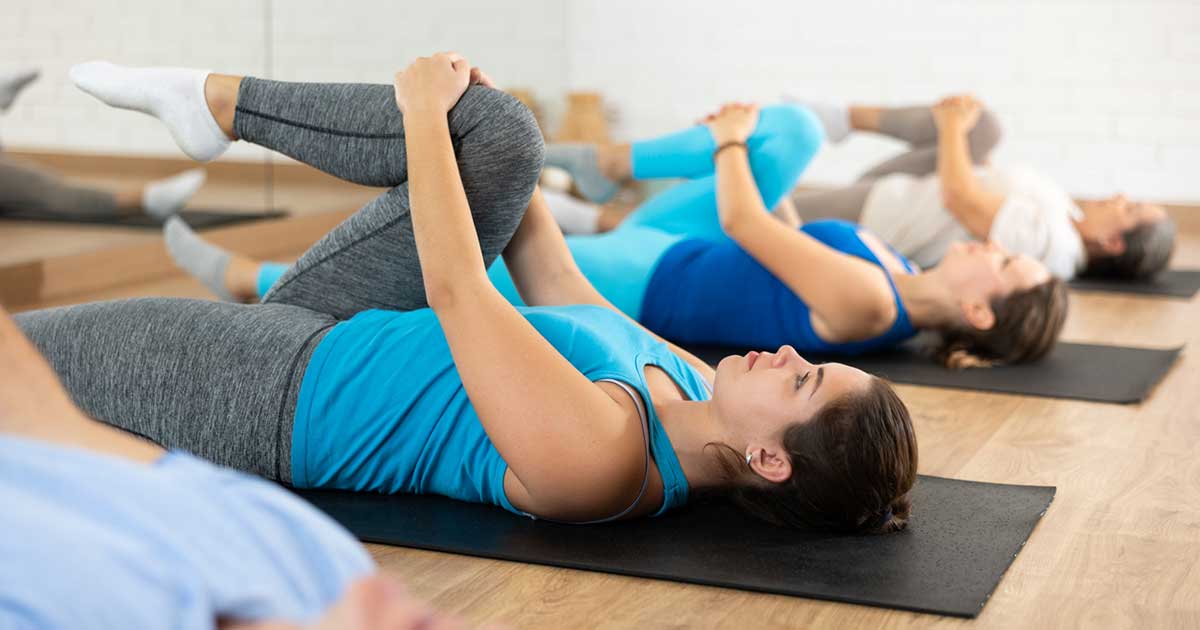
Knee to Chest
This loosens the hip flexors, which, when tight, pull the hip forward and the lumbar spine into hyperextension, putting pressure on it.
- Lie on your back on a firm but comfortable surface.
- Bend your right knee, bring it to your chest, and hold it there with your hands.
- Keep your left leg long and work on actively reaching it away from the body.
- If you have tight hip flexors, your left leg may roll out to the side or come up off the floor. The goal is to keep the left leg heavy to the floor and parallel to the right leg.
- Hold this position for ten breaths.
- Straighten the right leg back to starting position.
- Repeat by bending the left leg and bringing it to your chest.
Hamstring Stretch
When the hamstrings are tight, it pulls the pelvis under, putting tension on the lower back, which can lead to compression between the vertebrae.
- Lie on your back on a firm but comfortable surface.
- Bend both knees and plant your feet on the floor.
- Bring your right knee to your chest and loop a towel or yoga strap onto the ball of your right foot or interlace your hands behind your right thigh.
- Slowly raise your right foot toward the ceiling as you inhale.
- Exhale as you feel the hamstring release. Hold this position for ten breaths.
- Return to the starting position and repeat on the left side.
- As your hamstrings get more flexible, you can keep the non-working leg straight instead of bent. Make sure both your hips and bottom leg stay down. If they come up, you will be putting pressure on your low back instead of getting a good hamstring stretch.
Basic Ab Curl
Activates and strengthens the deep core muscles, which include the transverse abdominis (which protects and stabilizes the spine), internal and external obliques, pelvic floor, diaphragm, and multifidus (the deep muscles along the spine).
- Lie on your back on a firm but comfortable surface.
- Bend both knees and plant your feet on the floor hip-width apart.
- Place your hands behind your head and angle your elbows slightly forward.
- The most important thing is to keep the pelvis neutral here – don’t tuck your tailbone under and don’t push your lower back into the floor.
- Inhale; as you breathe out, draw in your belly and pull the base of the ribcage forward as your head and shoulders come away from the floor.
- Make sure you’re not over-curling, which will compress your back and move you out of the deeper layers of your abs.
- Inhale and come back down toward the mat.
- Repeat for a total of eight to ten reps.
Published 8/22/2023
About the Expert

Valarie Samulski is a physical therapist with HSS Rehabilitation.