Advice to improve your movement, fitness, and overall health from the #1 in orthopedics in the U.S.
How to Exercise at Home Using Everyday Items
Everyday items can be used to add variety and intensity to your at-home workout.
Advice to improve your movement, fitness, and overall health from the #1 in orthopedics in the U.S.
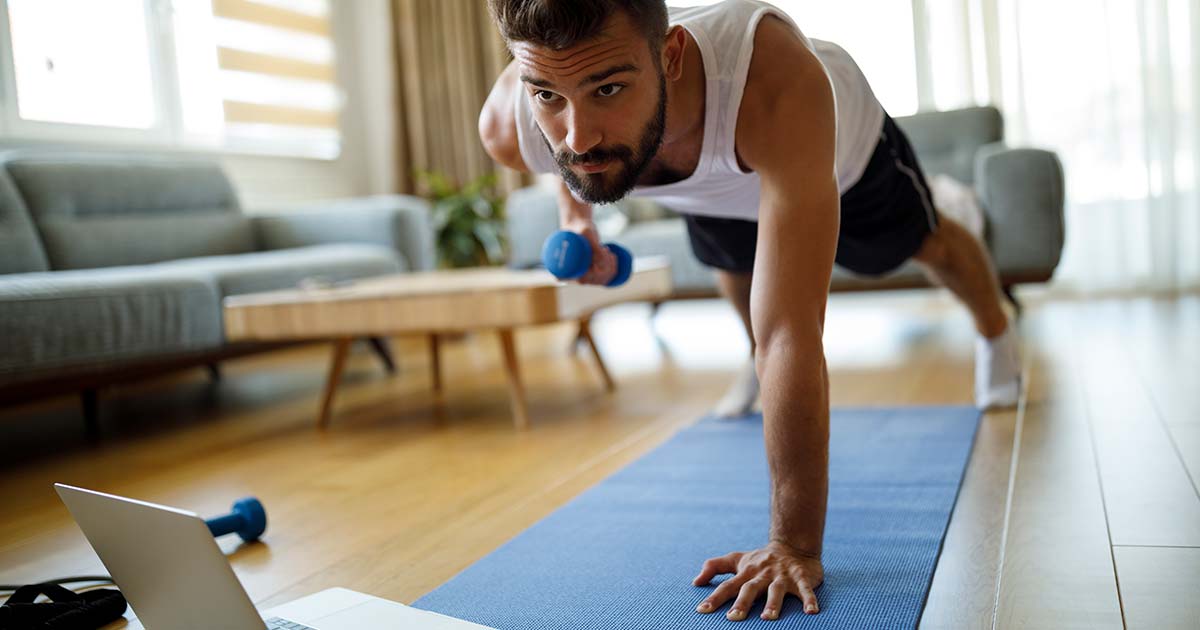
Not everyone has access to gym equipment to use during their at-home virtual exercise classes, but you don’t need to have a lot of gear to get a good workout. Soup cans and water bottles make great substitutes for light weights, and your kitchen chair or an ottoman can work just as well as a weight bench for tricep dips. Check out our list for multipurpose household items that double as workout tools and some exercises you can do with them.
Safety note: Whenever you work out at home, make sure you’re on a stable surface and not on a rug that could slip. Clear the space around you as much as you can so you don’t bump into anything.
1. Paper plate, folded towels or socks
If you place one under your foot, a paper plate makes a great slider for moves like lunges and hamstring slides. You can also use a paper plate under one hand to add some movement to your planks.
Of course, paper plates generally work better on smooth surfaces like hardwood floors, tile and linoleum than on carpeting or rugs. A small towel or even socks can also be used to slide if you don’t have paper plates.
Exercises to try:

Lateral lunge: With the plate under one foot, slide that foot out to the side as you squat into your standing leg, then stand through your standing hip as you slide your foot back into the starting position.
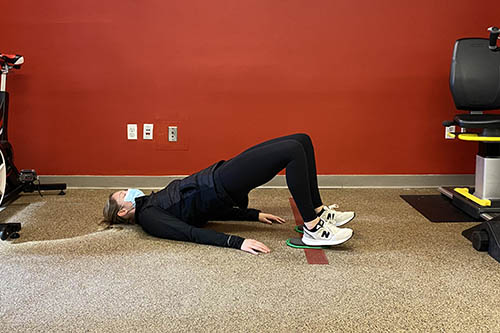
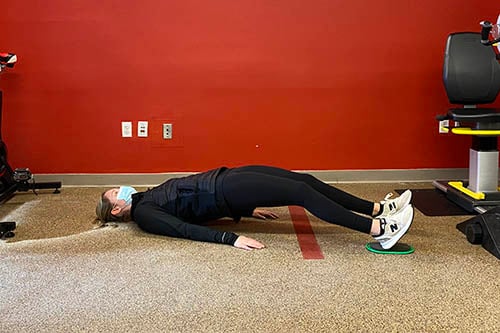
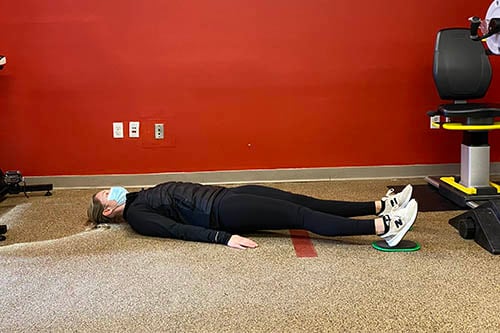
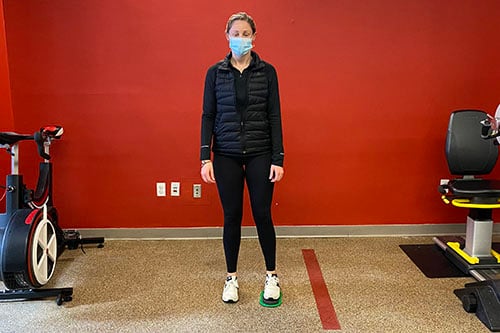
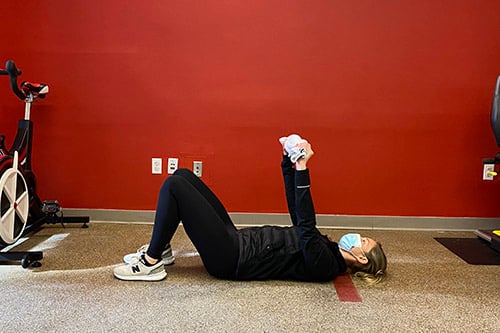
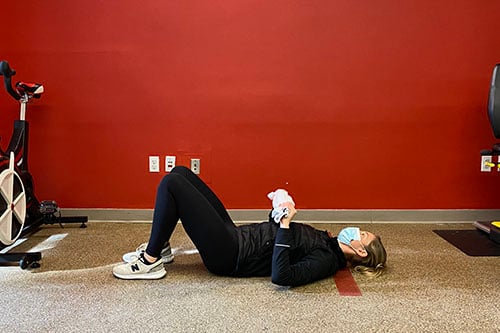
Supine hamstring curl: Lying on your back, position a plate under each heel. Your heels should be on the ground and knees bent at 90 degrees. Lift your hips up into a bridge position by squeezing your glutes, then allow your feet to slide away from your body, slowly extending your legs. Dig your heels into the plates and drag them back toward your body to perform the hamstring curl.
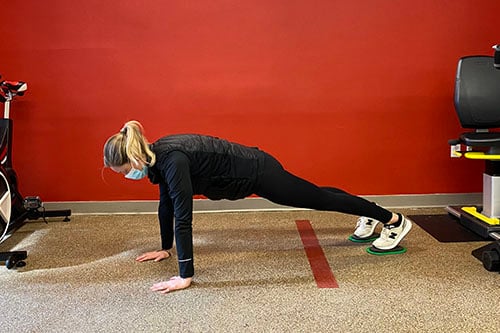
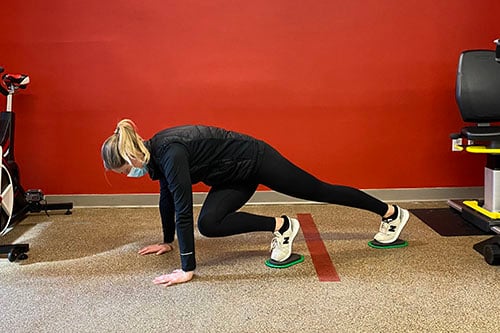
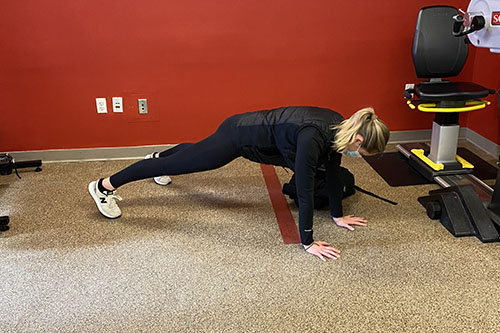
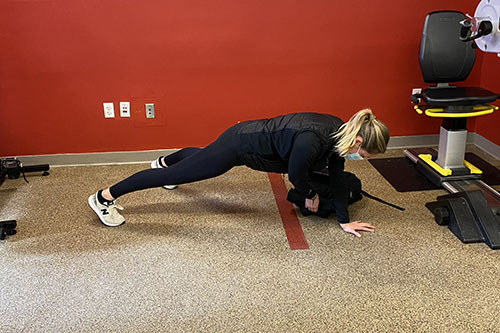
Plank knee to opposite elbow: Get in a plank position with a plate under each foot. Slide one knee toward the opposite elbow, then switch. Keep your torso still and back flat while you move your legs.
2. Towel
Stretching a towel between your arms while doing overhead presses, front presses or rowing exercises can help add intensity to your arm, chest, back and shoulder workouts. By pulling on the towel, you can activate different muscle groups than you would otherwise.
The key for these exercises is to pull the towel apart and keep tension in it by activating the back of your shoulders and rhomboids (in the upper back). You can pull harder to make the exercise more difficult. (Just don’t tear the towel.)
Exercises to try:
Supine (floor) chest press: Lying on your back on the floor with the ends of a towel in each hand, press your arms to the ceiling, then back down and repeat. Keep your elbows just under your shoulders, not straight out to the sides.
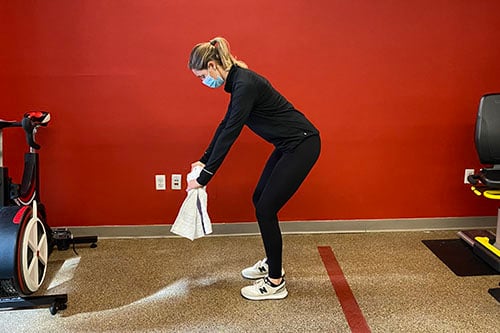
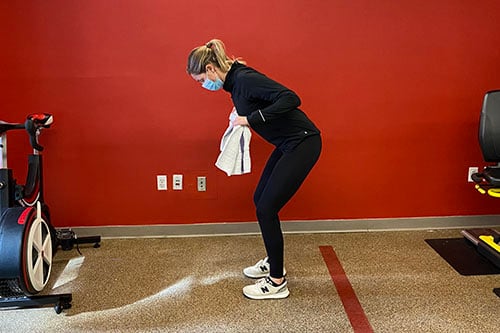
Bent-over row: From a standing position, hinge at the hips with both arms straight in front of you, toward the floor. Pull your elbows up toward your chest to a 90-degree angle by squeezing your shoulder blades, then bring them back down and repeat.
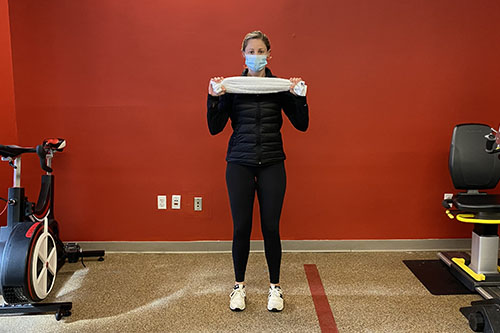
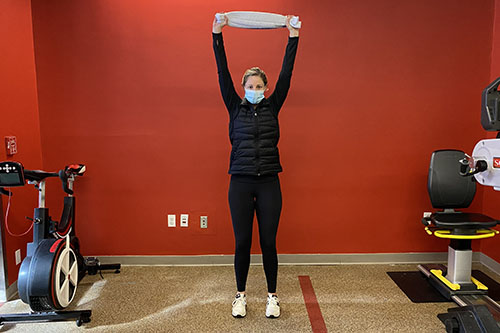
Shoulder press: Standing up straight with the towel across your chest and your elbows at 90 degrees, press both arms up above your head, then lower and repeat.
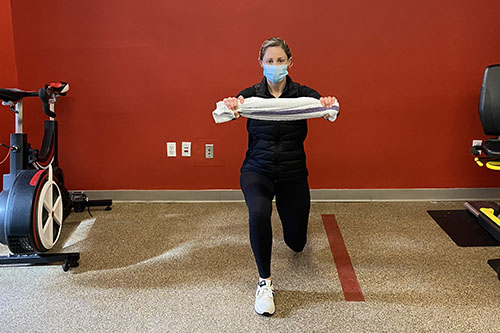
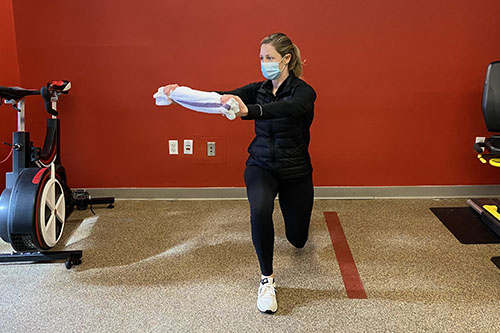
Lunge with rotation: Step forward into a lunge, with both knees at 90 degrees and your weight centered in between each leg. Hold that position, keeping your core tight and your hips stable. With both arms extended straight out in front of you and the towel pulled tight, rotate your upper body across your front thigh to a 45-degree angle. Rotate back to forward chest position and then push up and back off your front leg to return to a standing position.
3. Duffle bag or backpack
Sandbag workouts are a popular part of some fitness programs. Because they’re bulky and the resistance shifts around inside the bag, you can challenge your core more with every exercise. They also work both large and small muscle groups. If you don’t have a sandbag at home, it’s easy to make one. Fill a backpack or duffle bag with books, canned goods, bags of beans or rice or water bottles.
Exercises to try:
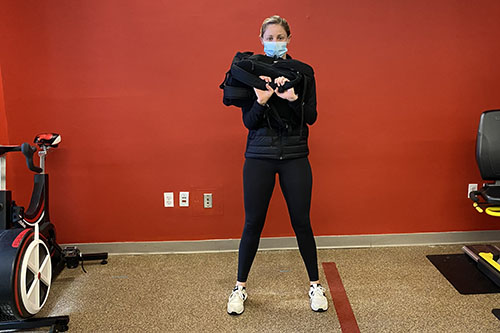
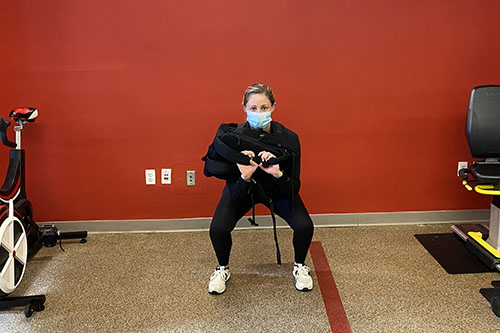
Loaded front squat: Position the bag in front of your chest and keep it there as you sit back and down into a squat position. Loading the front of your body forces your core to engage a bit more to keep you upright instead of falling or leaning forward.
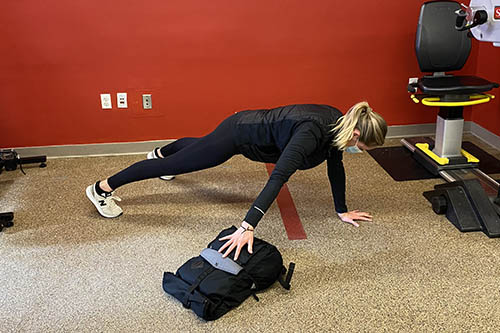
Plank pull-through: Place the bag on the left side of your body (just outside your shoulder) and get up into a high plank position. With your right hand, reach under your body and pull the bag to the right side. Repeat with the left hand. The key to this exercise is to maintain a strong plank, hips level and flat and core tight. As you drag the bag across, engage your core and feel those muscles working. A slower tempo will help with that.
4. Soup cans, water bottles or plastic jugs
Soup cans and water bottles filled either with water or with rice or dried beans make great dumbbells when you want a smaller weight for exercises like bicep curls, rows or overhead presses.
Kettlebells are great for adding resistance to exercises like lunges or squats. You can also swing them in different ways to work your arms, shoulders, back and core.
A good substitute are large plastic bottles, like gallon milk jugs or laundry detergent bottles. Fill them with water, rice or sand to vary the weight. Make sure you select bottles with handles that are easy to hold on to, so you don’t lose your grip.
Never use anything breakable like a glass jar or bottle as a weight. Make sure you choose an item that you can wrap your hand around firmly, so you don’t drop it.
Exercises to try:
Supine (floor) chest press: Lying on your back on the floor with a water bottle or soup can in each hand, press your arms to the ceiling, then back down and repeat. Keep your core engaged and elbows just below your shoulders, not straight out to the side.
Skull crushers: Lie on your back with your knees bent and your feet flat on the ground, keeping your core tight. Take a water bottle or can in each hand and reach up toward the ceiling. Lower the cans or bottles down and back toward your ears, while keeping your elbows in place pointing up toward the ceiling. Press through your hands back toward the ceiling to a straight arm position to complete the repetition.
Goblet squat: Hold a jug or can in front of your chest or place one can in each hand resting on the front of your shoulders. Keep the weight in place as you lower into a squat position and raise back up. To make it a combination exercise, you can add a shoulder press as you stand, increasing the number of muscle groups you are using.
Swings: Use a jar or bottle with a handle. Your arms should be straight and relaxed, and you should have a soft bend at the knees. Hinge your hips back, keeping your core tight and your back flat. Then squeeze your glutes to thrust your hips forward and up, elevating the jar or bottle in front of you. Your core and back should remain straight up and down, with no arch or backward bend. The resistance will only raise as high as your glutes can thrust. Perform this exercise only if you have already mastered a hip hinge, deadlift pattern movement.
5. Chair or ottoman
You can use a chair or an ottoman for step-ups to get your blood flowing. They also work great for tricep dips. A lower chair or ottoman, or even a stack of books, can be used as an elevated surface for plank push-ups and burpee modifications. You can also use them to elevate your feet when doing a bridge pose.
If you’re using one of these as a makeshift stool or bench, make sure you have a stable surface underneath it that won’t slide out from under you. Never use a chair or ottoman with wheels.
Exercises to try:
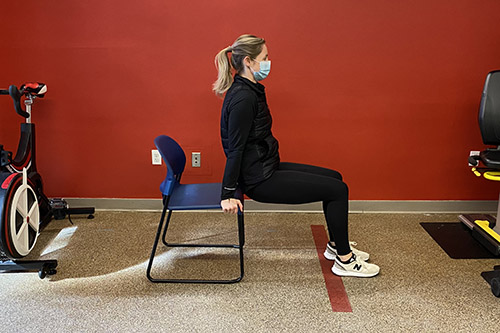
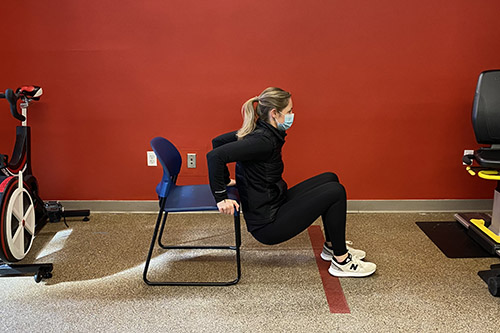
Tricep dips: Sit on the edge of the chair or ottoman with your palms down on the seat on either side of you. Lift your body off the chair and lower toward the floor, until your elbows are bent at 90 degrees. Push back up without re-sitting on the chair and repeat.
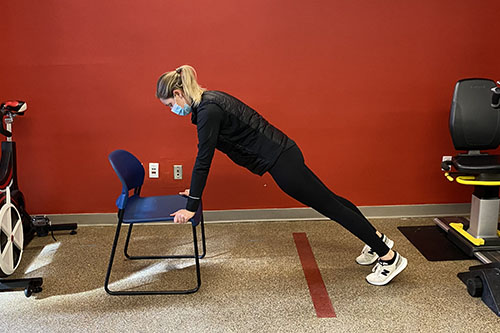
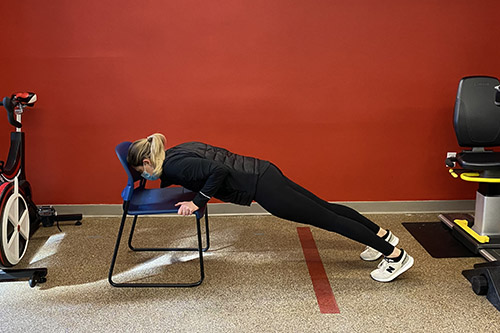
Elevated push-ups: With your hands on the seat, your shoulders right over your wrists and the chair or ottoman on a stable surface, get into a plank position. Lower into a push-up and press through your chest and arms back up into elevated plank position.
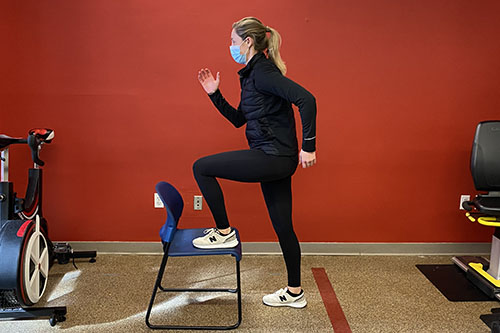
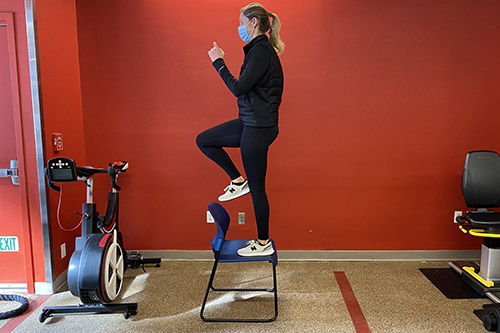
Step-ups: Standing in front of the chair or ottoman, step up onto it with one leg, putting your whole foot down flat. Lower to the ground and switch feet. Squeeze your glutes and quads to push up onto the chair.
6. Resistance bands
No, these are not technically household items. But if you plan to buy only one piece of exercise equipment for your home, consider a set of resistance bands. You can use them in ways similar to how you would use a towel, but because they stretch, they provide different resistance. You can also anchor them to a piece of furniture or a door to add some variety to your workout.
Resistance bands are relatively inexpensive and don’t take up a lot of space if you have limited room in your home.
Exercises to try:
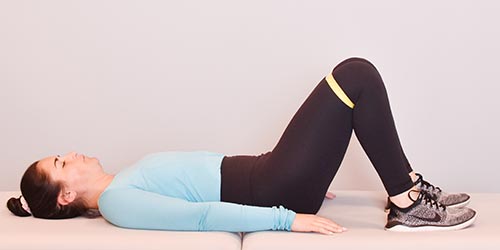
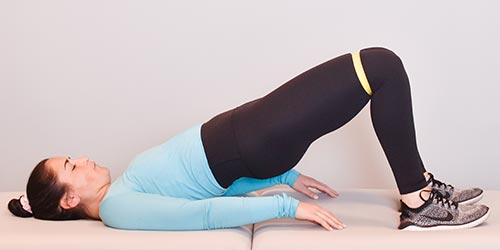
Banded bridges: Place the band just above your knees. Lie on your back with your knees bent and your feet flat on the floor about hip-width apart. Engage your core muscles, squeeze your glutes and drive your hips up into a bridge position while pressing out a bit on the band. Lower your back down nice and slowly.
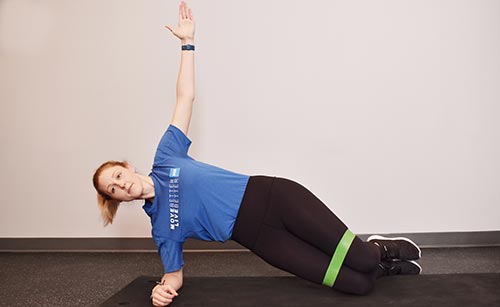
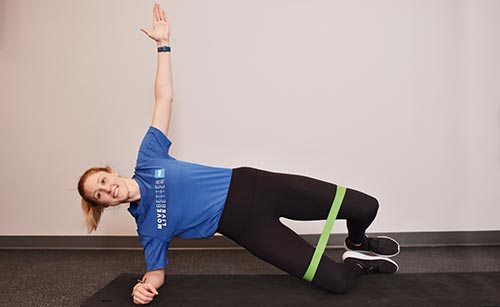
Side plank with clamshell: Place the band above your knees and position yourself on your side, with your elbow just under your shoulder and your knees just in front of your hips. Press up into a side plank bringing your hips up off the ground by using your bottom obliques and bottom glute. Hold that side plank as you press your knees apart, with one knee held down toward the ground and the other one lifting up toward the ceiling. Only press as far as your hips can remain stacked on top of each other. Your hips should not roll back. Pretend there’s wall behind you and those hips can’t move.
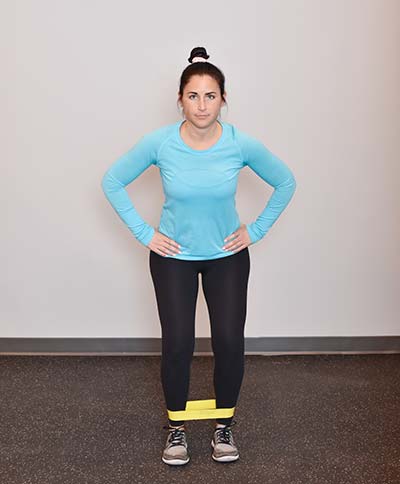
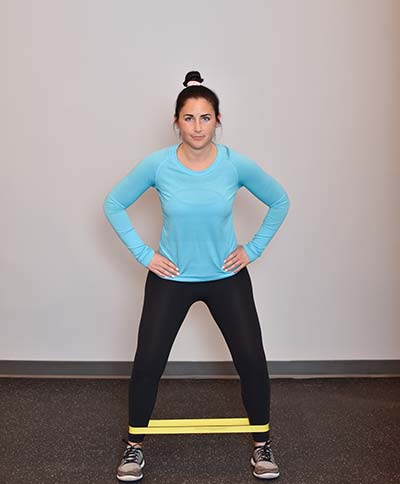
Side steps: Place the band above your knees, with your feet just outside of hip width. Push your hips back into a one-quarter squat position. With your core tight and feet straight, step out to the side while pushing out against the band. Continue stepping in one direction for 10 to 12 steps, then return in the other direction, maintaining that same one-quarter squat position. You should feel this exercise in your outer glutes and your hip pocket muscles.

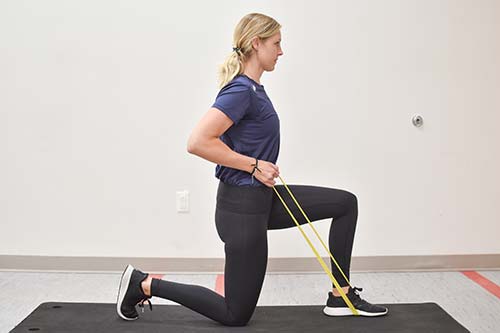
Half-kneeling rows: In a half-kneeling position, place a lighter resistance band under your front foot. With both knees at 90 degrees and hips remaining straight, kneeling tall with your core tight, grab the band with your opposite arm and pull your elbow back toward your lower ribcage by squeezing your shoulder blade. Return to the straight arm position nice and slow.
Published 1/31/2021